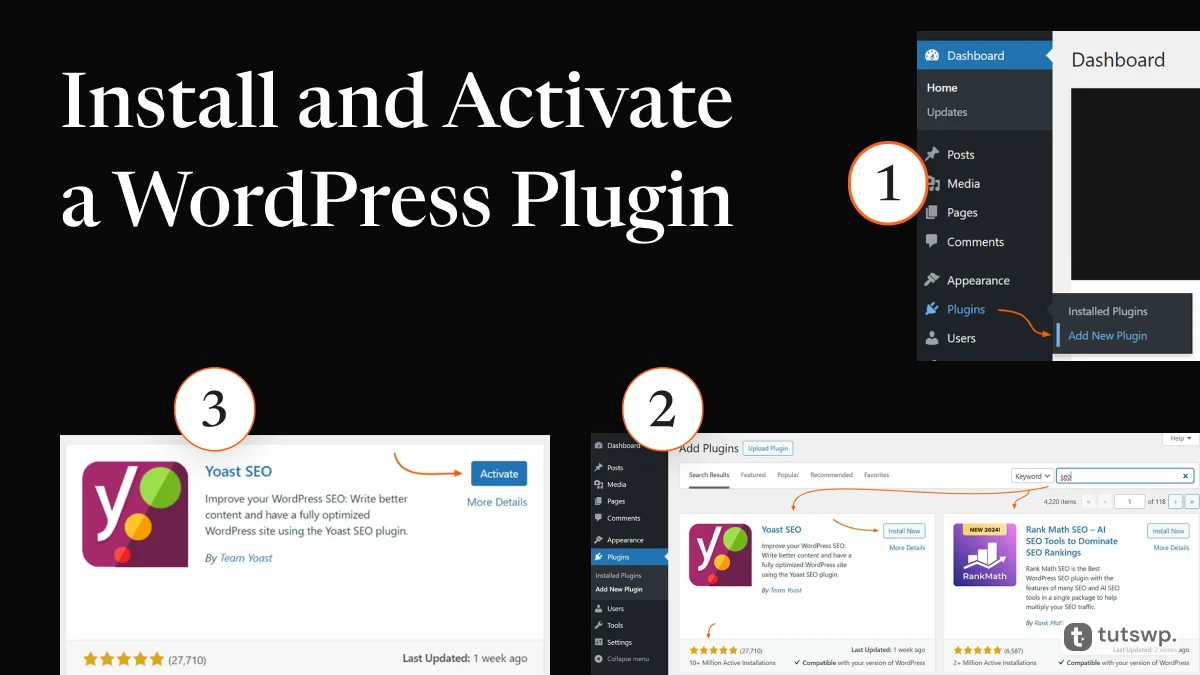
Plugins are packages that add valuable features to enhance the core functionality of WordPress. Think of them as tools to help you achieve specific goals, such as creating a contact form for visitors to reach you easily, or improving your website’s search engine ranking for better visibility.
This guide will show you how to install a plugin using your WordPress dashboard in just a few clicks ensuring your website can reach its full potential.
Table of Contents
Ready to supercharge your website? Let’s dive in!
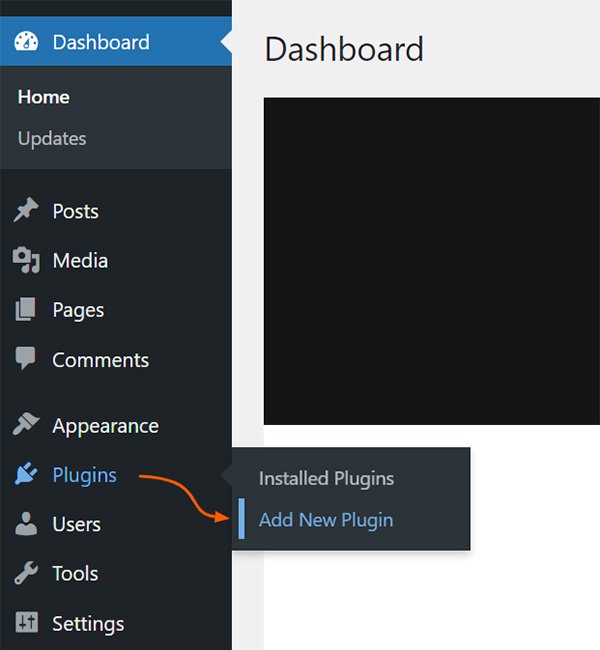
Step 1: Navigate to the Plugins Repository
- Log in to your WordPress Dashboard.
- On the left-hand menu, hover over Plugins and click Add New Plugin.
- This will take you to the plugin directory, where you can find your ideal plugin.
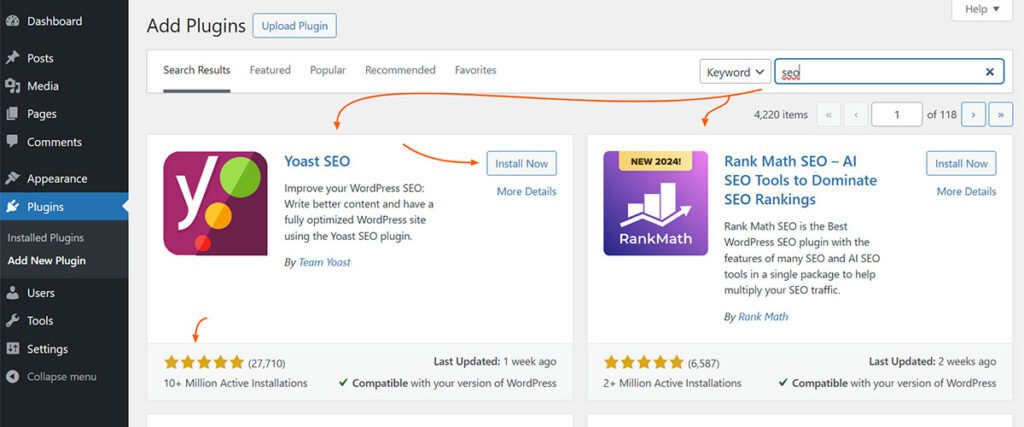
Step 2: Find Your Plugin
Here’s how to search for a specific plugin by searching by keyword.
- On the plugin installation page, locate the search bar at the top right corner of the screen.
- If you know the exact name of the plugin you want, enter that directly. Otherwise, type in relevant keywords related to the desired plugin’s functionality. For example, if you’re looking for a plugin to improve your website’s search ranking, type in “SEO”, or “rank“, etc.
- As you type, the plugin directory will display a filtered list of relevant plugins optimized for the search term.
- Browse the results and choose the plugin that best suits your requirements, either by reading its title, and description or by identifying the one you were searching for by name.
Pro tip! Before installing a plugin, take a moment to browse the reviews/ratings. This can give you valuable insights into existing users’ experiences and help you identify the best from the available options.
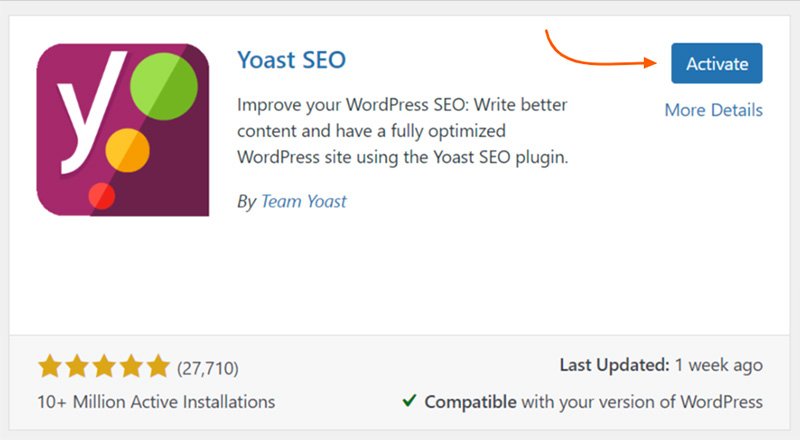
Step 3: Install and Activate the Plugin
- Choose and Install the Plugin: Once you’ve identified the ideal plugin in the search results, click the button that says “Install Now.” This will initiate the installation process.
- Activate the Plugin: Upon successful installation, the button text will change to “Activate.” Click this button to activate the plugin and enable its functionalities on your website.
Congratulations! You’ve successfully installed and activated a plugin on your WordPress website. Now, explore the plugin’s settings to customize it for your needs. You can search online for the plugin’s documentation if you need help with the setup process and further customization.
Remember: Regularly updating your plugins is essential for optimal security and functionality. If you encounter any challenges during the plugin installation process, comment below. We’re here to help!
Leave a Reply