That moment you set up your WordPress site and first log into your shiny new WordPress admin dashboard is full of potential. It’s tempting to start posting immediately, but pressing pause for one key action will set you up for long-term success.
The very first thing I recommend? Replacing the default design. Why? Because your website is more than looks, it’s the personality of your brand and the framework for your growth. For this, let’s learn to find and install theme in WordPress and apply suitable design for your site. Then, make your initial design choices with confidence.
Table of Contents
What is a WordPress Theme?
A WordPress theme is essentially a collection of website templates and settings to control the layout and visual design of your entire website. A theme is like an outfit for your site, which changes the appearance (colors, fonts, spacing) while the content (your words and images) stays the same. Changing your theme instantly transforms the appearance of your site without affecting your posts, pages, and other features.
Before You Begin: View the Default Theme
When you first install WordPress, it comes with a default theme, often Twenty Twenty-Five or Twenty Twenty-Four. This is your site’s current design.
Open the homepage of your website in a new tab to compare the changes later when you change the theme.
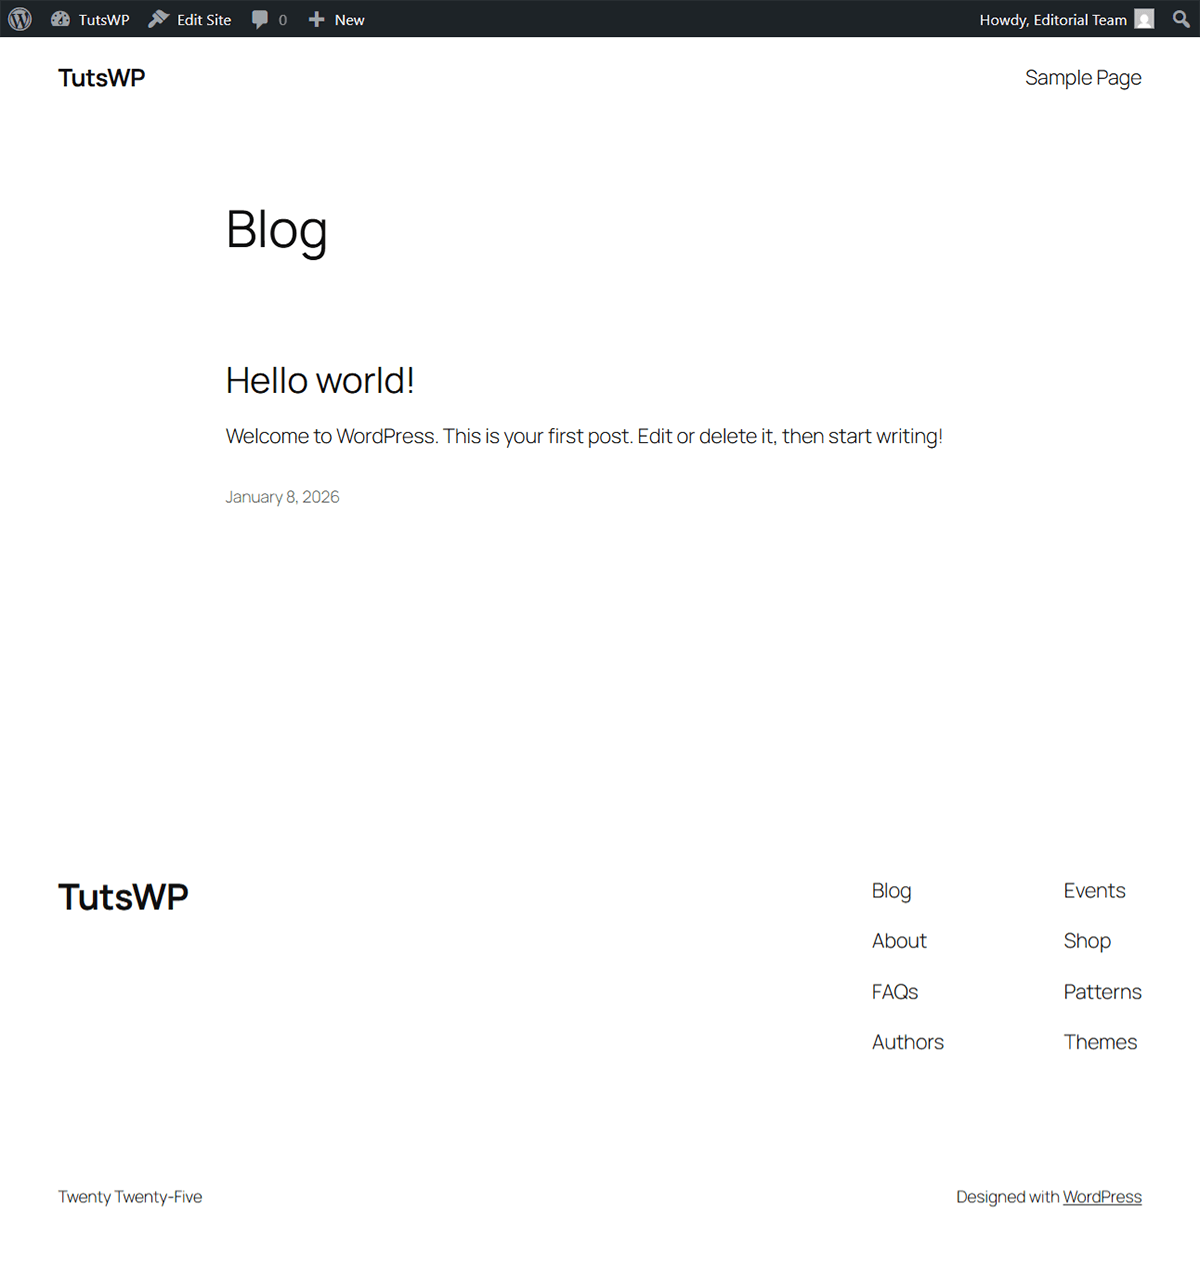
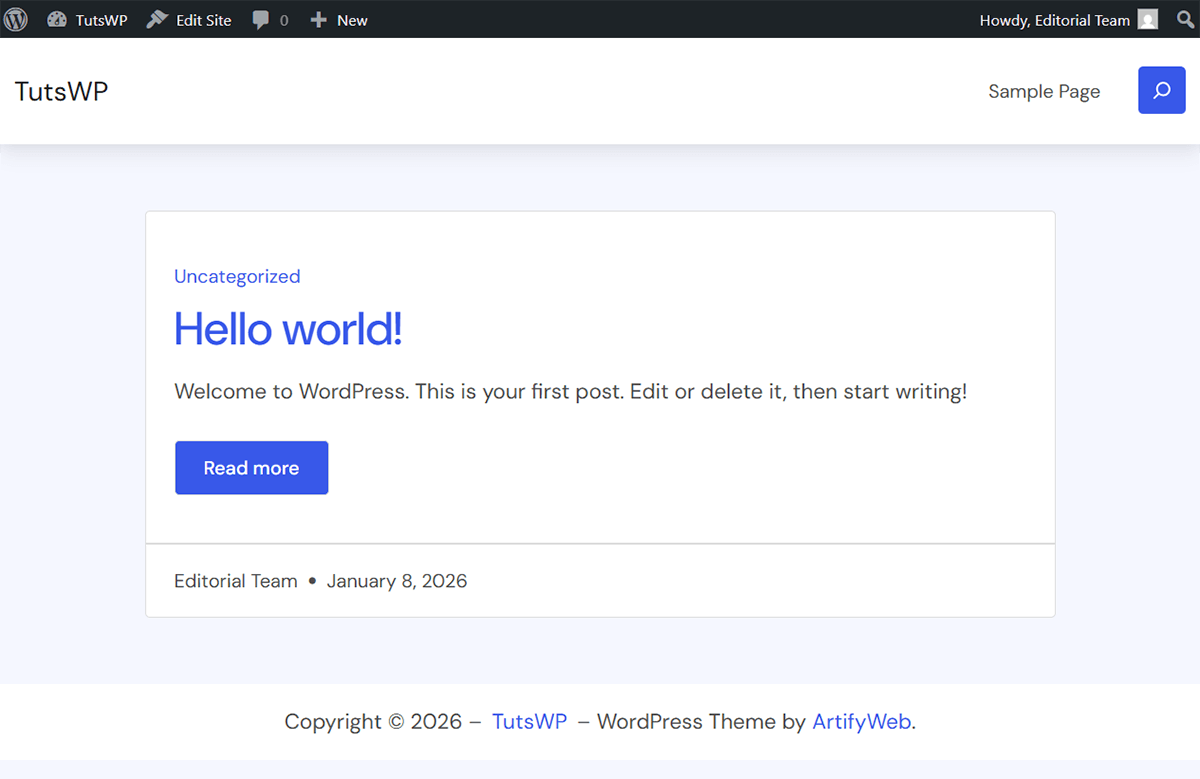
For this tutorial, the latest default theme called Twenty Twenty-Five is active, which provides a clean, modern base for a simple website, as you can see below:
However, to achieve a more unique or complex design, you’ll learn how to modify the entire site’s design at once by installing a new theme. Follow one of the methods below:
Method 1: Install Free WordPress Theme from Themes Directory
This is the most convenient way to install theme in WordPress. You can choose from thousands of free designs available right in your site’s admin dashboard.
For this guide, I’ll show you how to install a WordPress theme called Begnas by ArtifyWeb.
Follow the steps below:
- Log in to your WordPress dashboard.
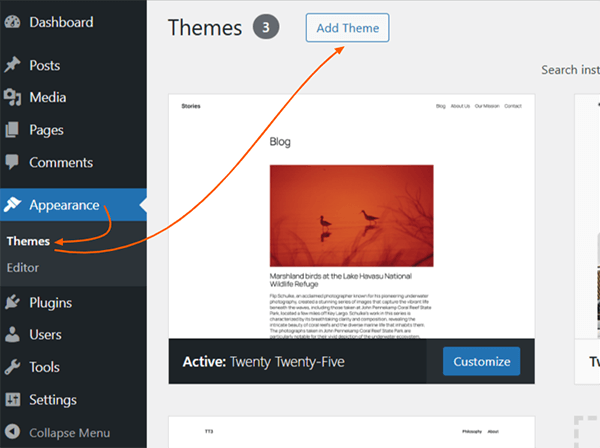
- Navigate to Appearance > Themes.
- Click on the Add Theme button at the top.
- In the next screen, you can browse themes by Popularity, Latest, Theme Type, or use the Feature Filter to find a theme of your requirements.
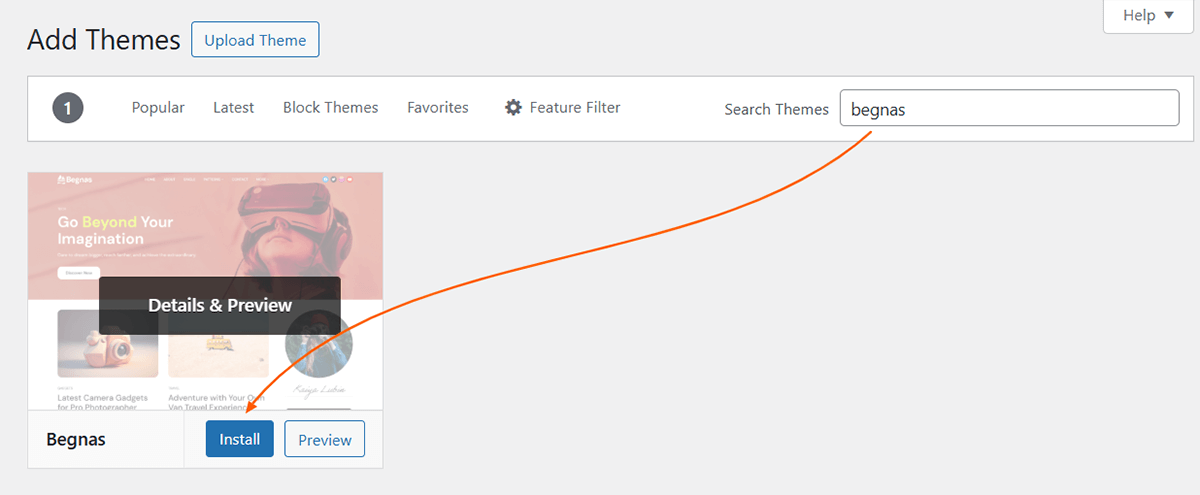
- If you’ve already chosen a free theme available on the WordPress.org Theme Directory, you can use the Search bar. Type the theme name (for example, type “Begnas“).
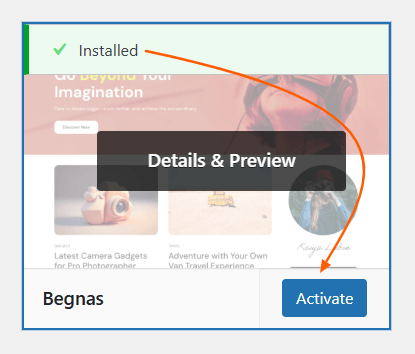
- Hover over the chosen theme, and click the Details & Preview button. Always preview it first to see how the theme looks with your own content. This won’t change your live site.
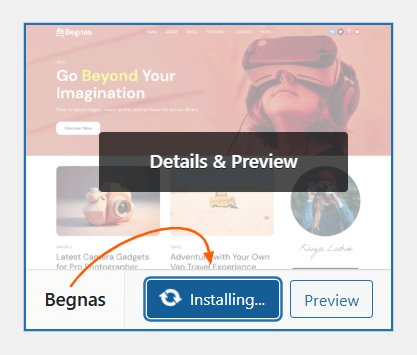
- If you like the preview, click the blue Install button and wait a few seconds for the installation to complete.
- Once finished installing, the Install button will change into the Activate. Click the Activate button to apply the theme to your live website.
Once you install and activate the new theme, you can preview the new design as instructed in the “View Your New Theme Live” section down below.
Method 2: Install Premium WordPress Theme Zip
Use this method if you’ve purchased a premium (paid) theme from a marketplace like WooCommerce.com or downloaded directly from a developer. These themes are not available in the free WordPress directory. Instead, you download them as a .zip file, and upload directly through admin dashboard and install theme in WordPress. This method shows you how to upload and install that file from your computer.
I’ve downloaded the EasySell WooCommerce theme zip file for this demonstration. Download your preferred theme zip file and follow the steps below to upload theme zip file to your WordPress site.
- In your WordPress dashboard, go to Appearance > Themes.
- Click the Add Theme button.
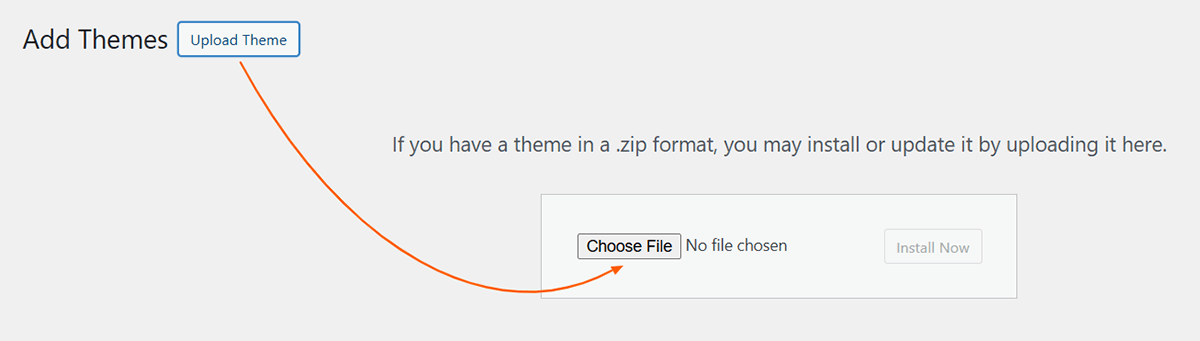
- Click on the Upload Theme button located near the top of the page.
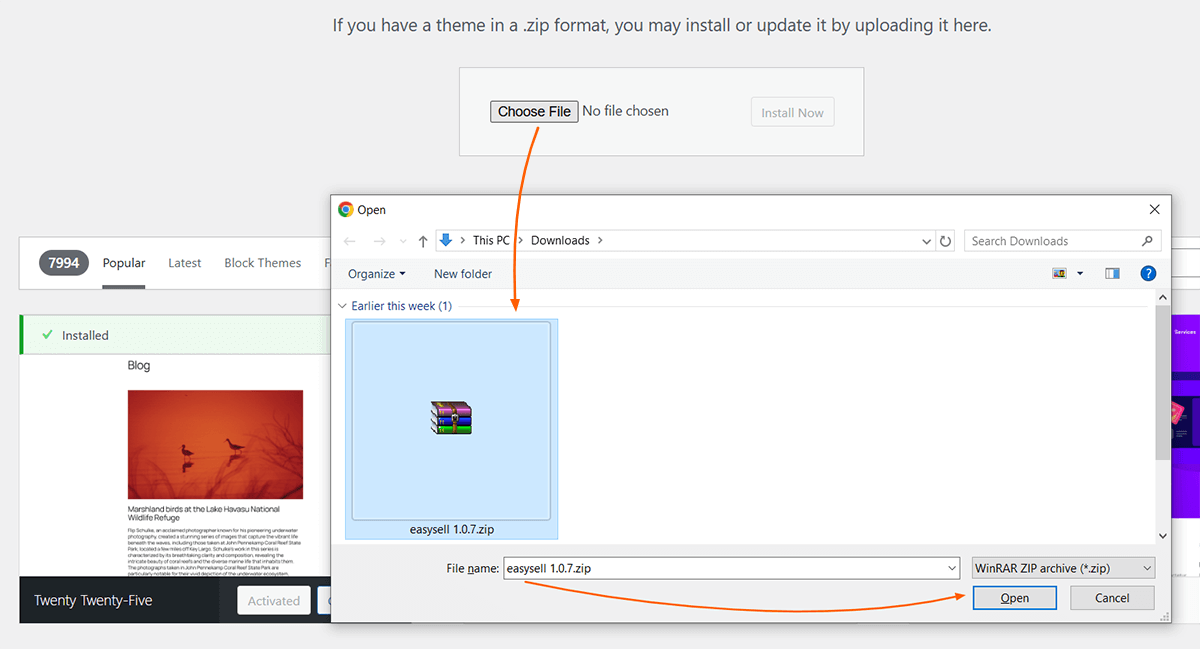
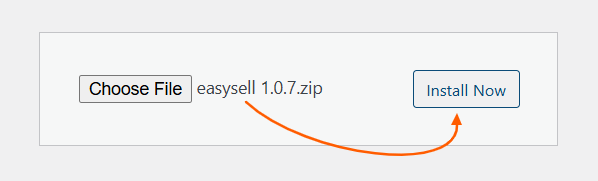
- Click Choose File, locate the theme’s Zip file that you saved on your computer. Select it and click the Open button at bottom.
- Once you’ve selected the file, click Install Now. WordPress will upload and install the theme files.
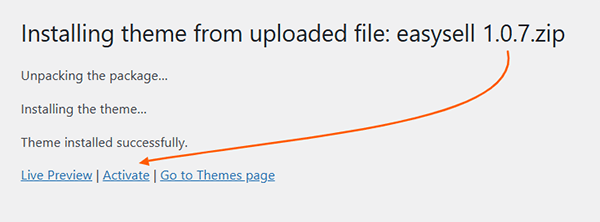
- After the installation is complete, click the Activate link to make the theme live on your site.
View Your New Theme Live
Once the theme is activated, you can immediately view the changes on your site. Here are two ways to do it.
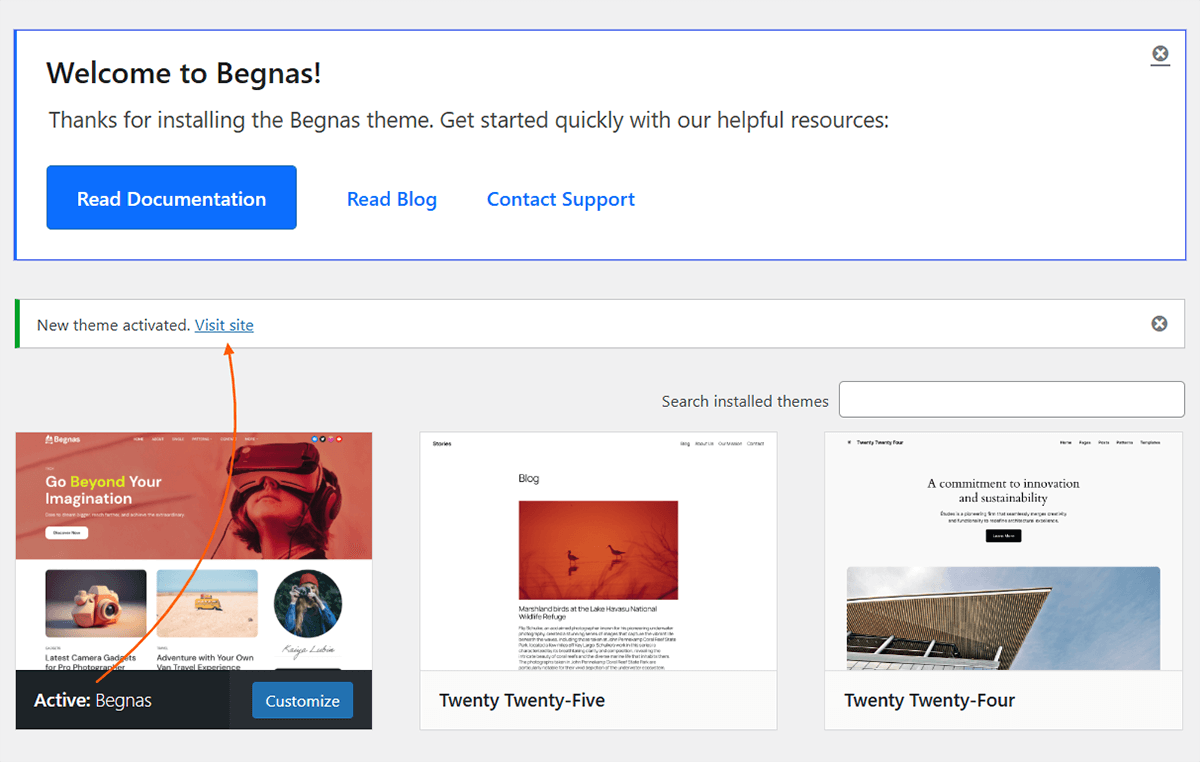
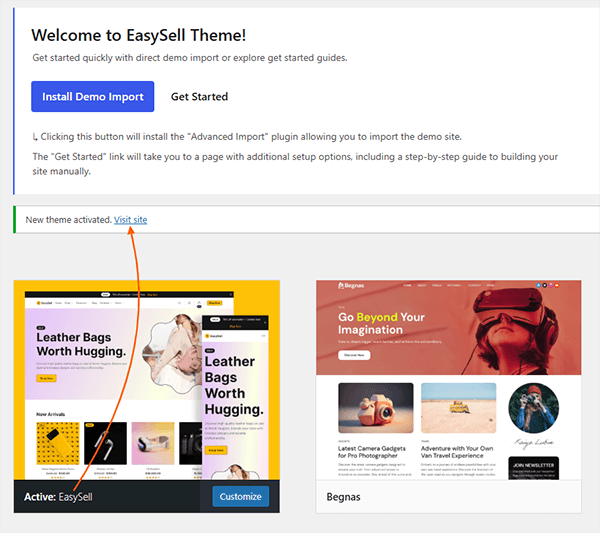
Method 1: Use the Success Link (The Direct Way)
On activating the theme, you’ll see a success message with a “Visit Site” link. Right-click it > Open link in new tab to open the homepage of your site in a new tab.

Method 2: Use the Admin Bar (The Standard Way)
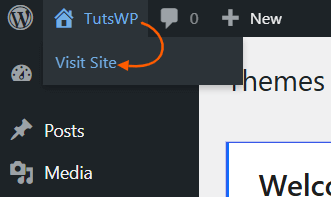
If you refresh the page or close the browser tab after theme activation, the notice with the preview link won’t be available. However, there is a way to open the homepage of your website anytime directly from the dashboard.
From the admin bar, locate the Home icon with your Site Title and click on it.
Your New Homepage
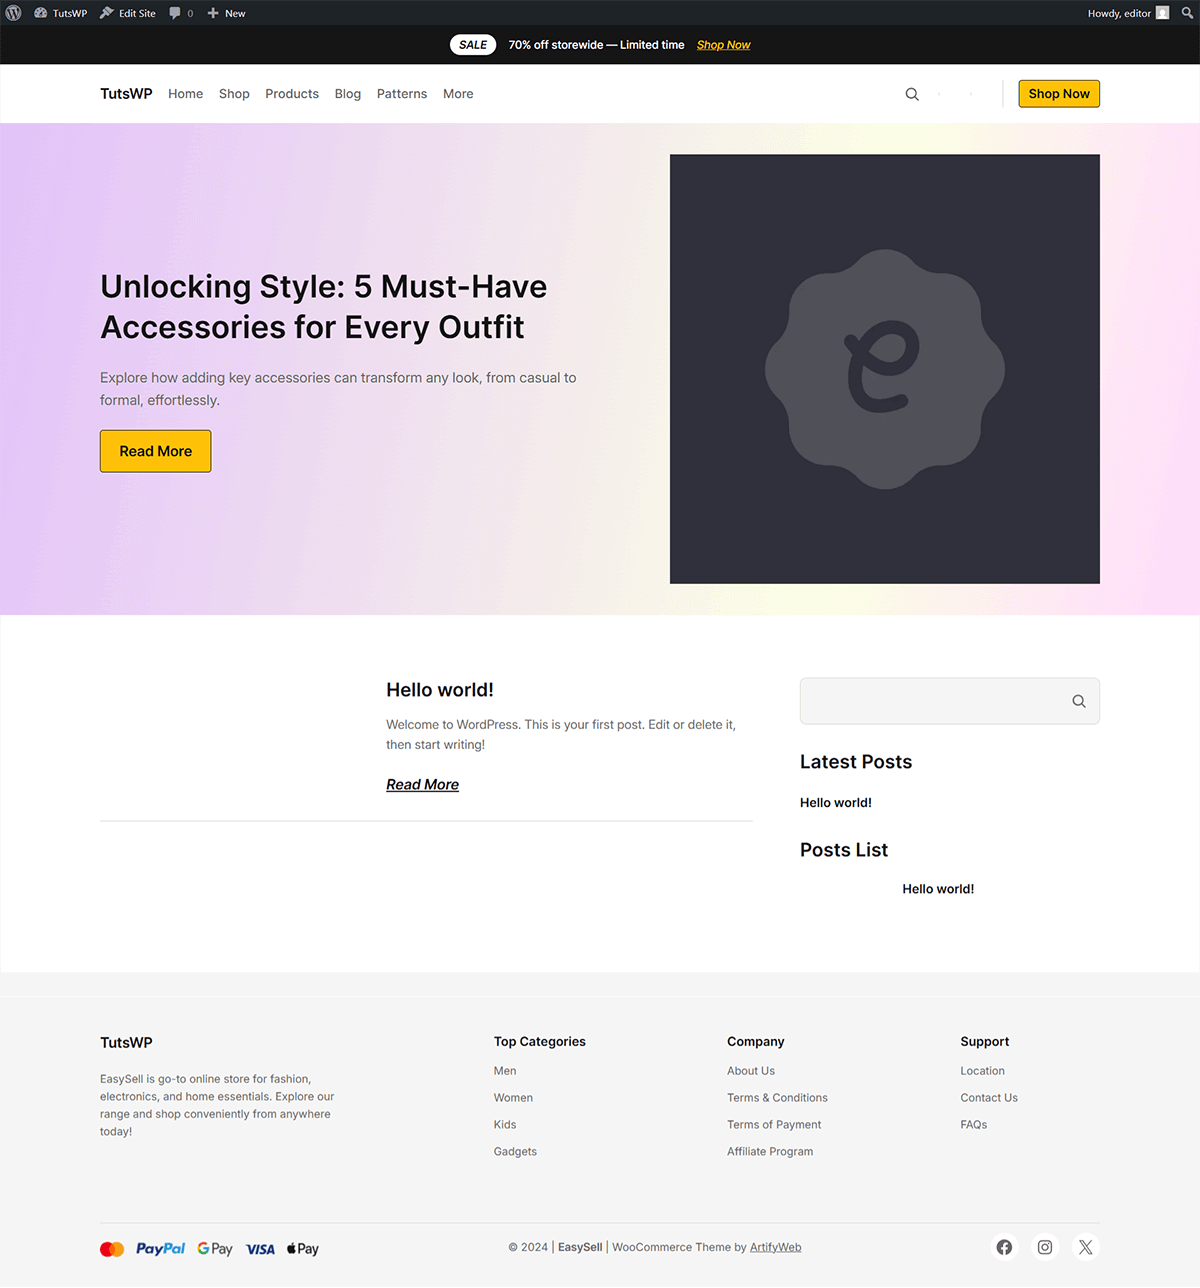
Here’s how the homepage of my site appears after changing the theme to the free (Begnas) and premium (EasySell). Explore your site to see how the new theme styles your pages and posts.
Congratulations!
You’ve now learned 2 essential WordPress skills to install WordPress themes, both free and premium, directly from the dashboard and by uploading premium themes via a zip file. Now, you can confidently find the best theme for your website and change your site’s entire design forever.
Take a moment to explore your new theme and visit your homepage, blog posts, and other pages to see how the theme styles all your content.