If you’re new to WordPress and want to learn without purchasing a domain and hosting, the perfect way to start is to install WordPress locally using LocalWP application. It also allows you to practice, experiment, and build a website safely on your own computer without any risk of breaking a live site – for free.
We’ll guide you step by step to set up WordPress using LocalWP, from downloading the application to creating your first local website, and logging into your new WordPress dashboard in just a few minutes.
Table of Contents
Step 1: Download and Install LocalWP
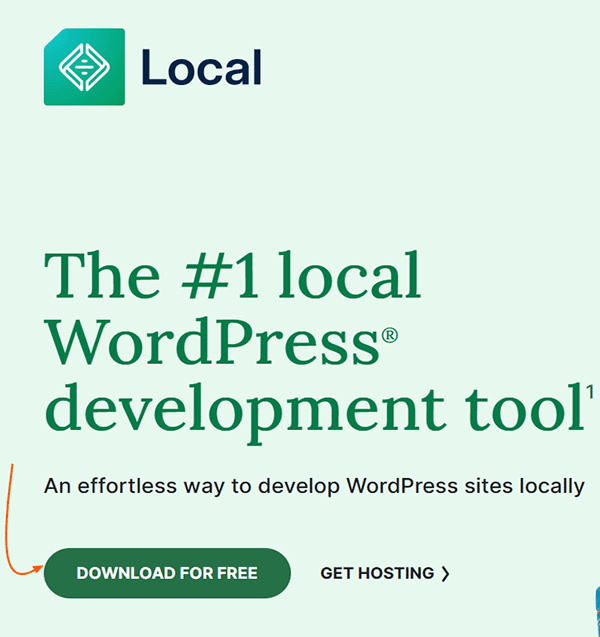
- Go to the Official LocalWP Website and click on the DOWNLOAD FOR FREE button.
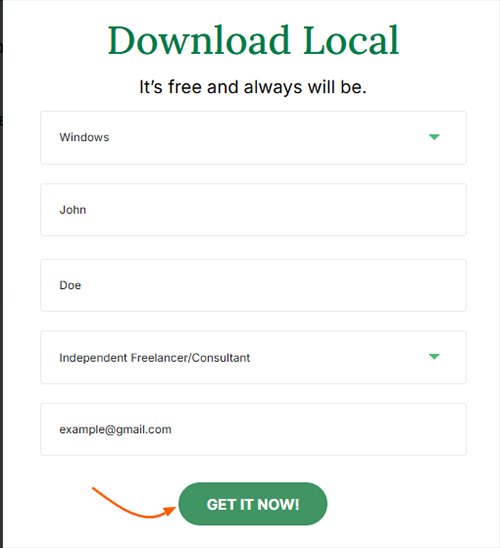
- On the dialog form, fill your information.
- Download the application file by clicking GET IT NOW! button.
- When the download is complete, locate the LocalWP installer file (usually in your Downloads folder of File Explorer) and double-click on it to run the installer.
- Then, follow the on-screen instructions in the setup wizard (you can accept all default settings). Once finished, the LocalWP application will be installed on your computer and ready to use.
Step 2: Create and Set Up Your Site in the LocalWP App
- Open the localWP application you just installed.
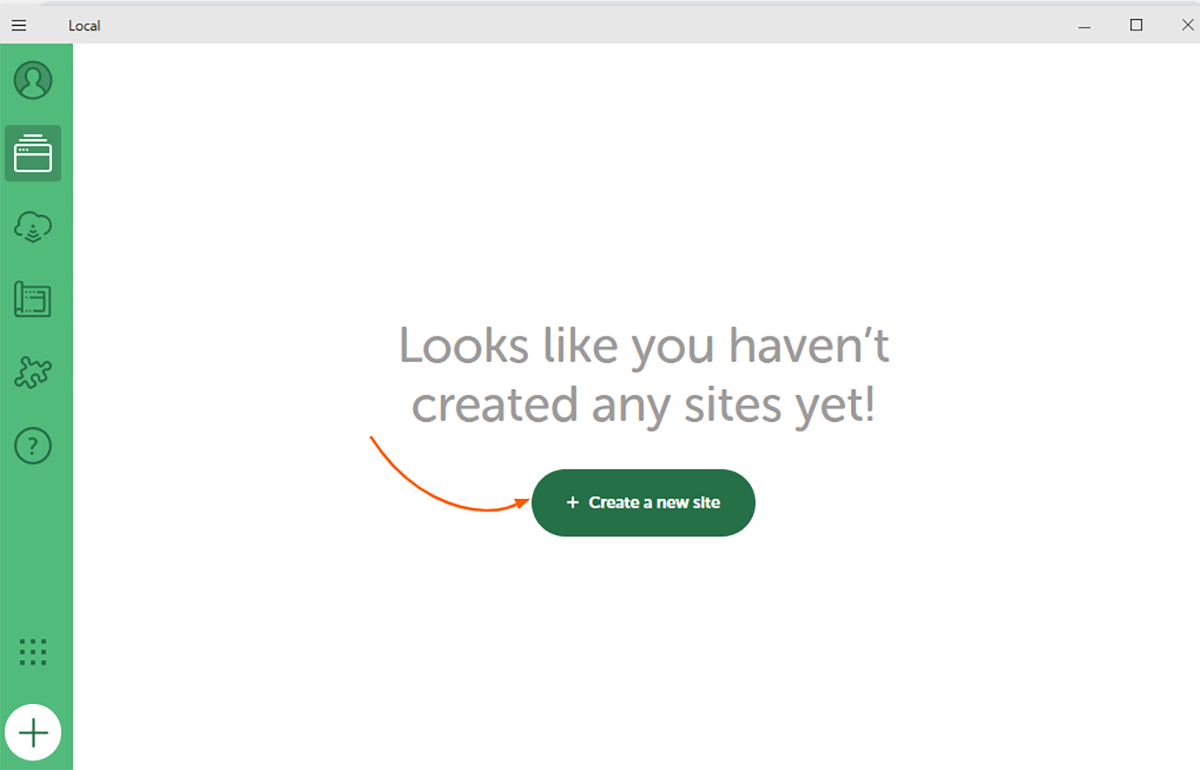
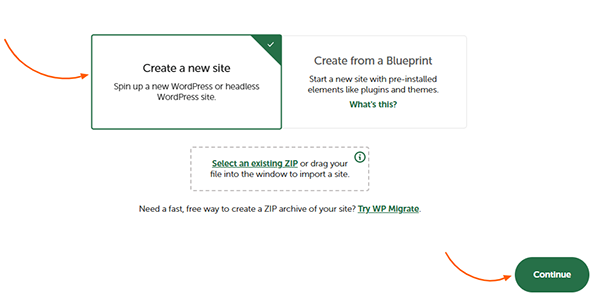
- On the LocalWP dashboard, click Create a new site.
- Choose “Create a new site” and click “Continue“.
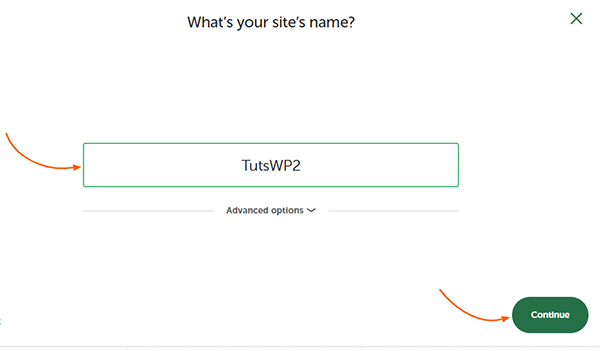
- Enter a name for your local site (this will be part of its local URL) and click Continue.
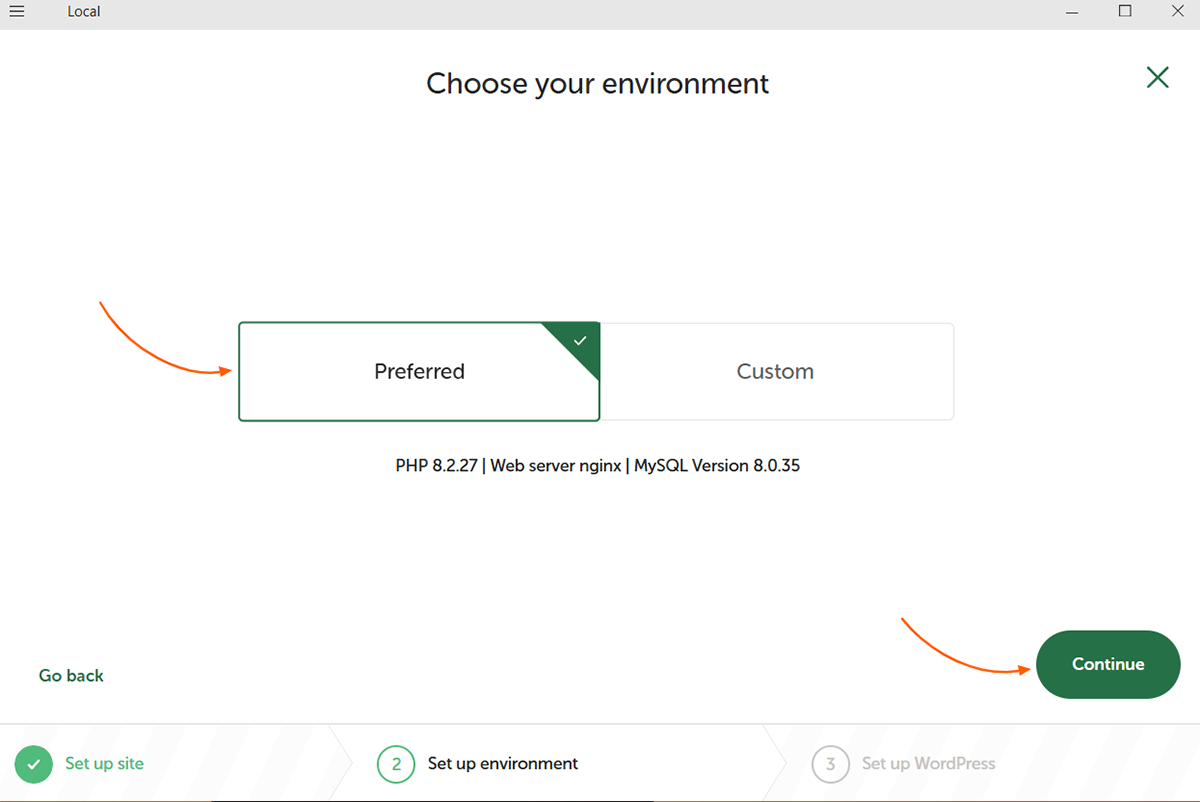
- Select the option Preferred as environment (the recommended default). Only choose Custom if you want to customize the PHP version, web server, and database.
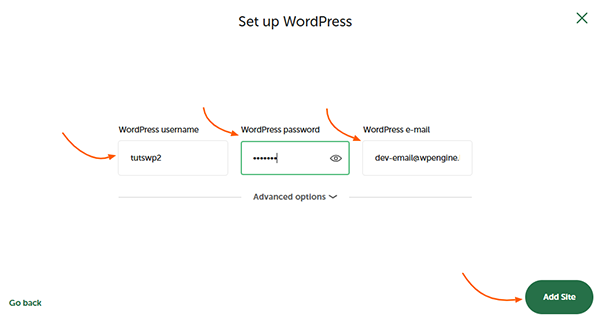
- Set up your WordPress username, password, and email for logging into the WordPress dashboard.
- Click the green Add Site button. LocalWP will now install and set up your WordPress site in the background, which you can start developing. This will take about a minute.
Step 3: Access your Local WordPress Site
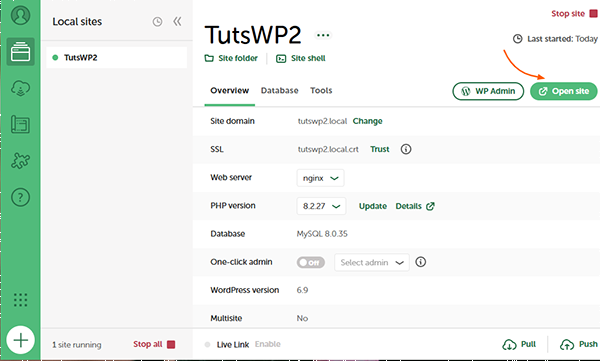
Now, your new WordPress site is ready. The site will appear in your LocalWP dashboard as “running”. In this step, you’ll learn how to open it and log in to the WordPress dashboard to start developing.
- In your LocalWP dashboard, click Open Site. This opens your website’s front page in a new browser tab.
- In the same row, click the WP Admin button to access your site’s WordPress dashboard, which will open your WordPress login page in your browser.
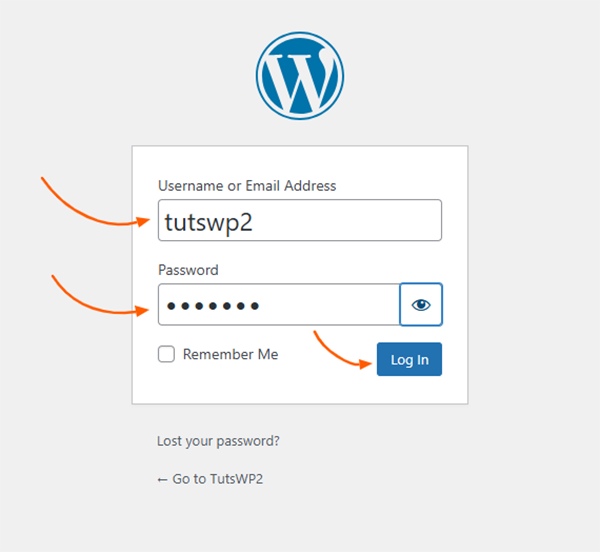
- On the login page, you can log in by entering the username and password you created during the site setup. Click Log In, and now you’ll be inside your WordPress dashboard, ready to start building.

Congratulations!
By following these steps, you have successfully learned how to install WordPress locally using LocalWP application on your computer. This opens up a world of possibilities for efficient website development and testing. Now, you’re ready to work offline, experiment freely, and perfect your site before it goes live.
Ready for the next step? Put your new site to use by learning how to create content. Follow our step-by-step guide: How to Write and Publish Your First Blog Post in WordPress.
If you have any further questions about how to install WordPress locally using LocalWP, feel free to leave a comment below.
Happy building!